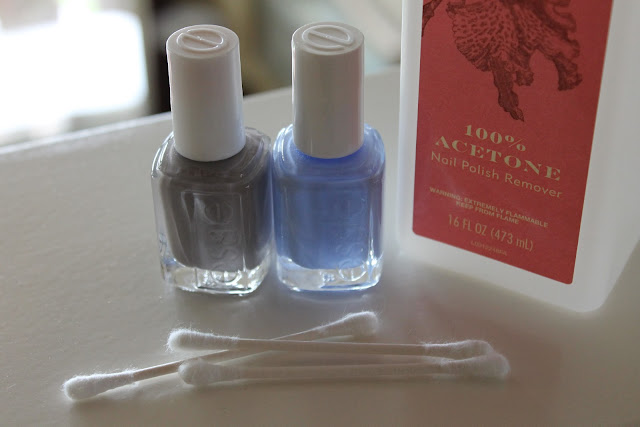
You will need at least two different nail polish colors: one for the base coat, and one for the polka-dots. (I chose to use Chinchilly by Essie for the base coat, and Bikini So Teeny by Essie for the polka dots). You will also need a pair of scissors, nail polish remover, and a few q-tips.
The first step is to cut one of the q-tips in half. Try to cut it completely straight across instead of at an angle, so it is as flat as possible on the cut side.
Paint your nails like you normally would using whatever color you chose for the base coat. Let your nails dry completely.
After your nails are dry, take your cut q-tip and place the cut end in the nail polish color you chose for the polka-dots. It is easiest to use the nail polish that is laying on the rim of the bottle, or to even use the brush to paint the underside of the q-tip.
Now here comes the fun part! Make sure the q-tip end is completely covered in the nail polish. Then, just place down on the nail, and voila, you have a polka-dot! Continue to cover the whole nail with dots, trying to space them out as evenly as possible. After your nails are completely dry, you can dip the end of another q-tip in some nail polish remover and clean up the edges of your nails.
Your finished product!
I'm excited to try out other color combinations as the weather warms up. There is something about freshly painted nails that makes your whole outfit seem more refined and complete. Happy painting!
D


No comments:
Post a Comment